Project Management
This Week's Assignment
Create a page about our self and a page about our final project.
• Set up a Git repository and choose a html application to make my web site
- Documenting, steps for uploading to the archive
• Describe and make a sketch for final project
Developing a website using HTML and CSS
For our first assignment we were asked to build a personal website. The website itself will act like a portfolio which will host documentation for assignments and steps we went through to finish them. Since I don’t have any experience with Web development and always wanted start from the starch, this assignment was enjoyable and useful.
I decided to download a template because I have zero experience with HTML and websites, so I tried to understand and figure out how it works.
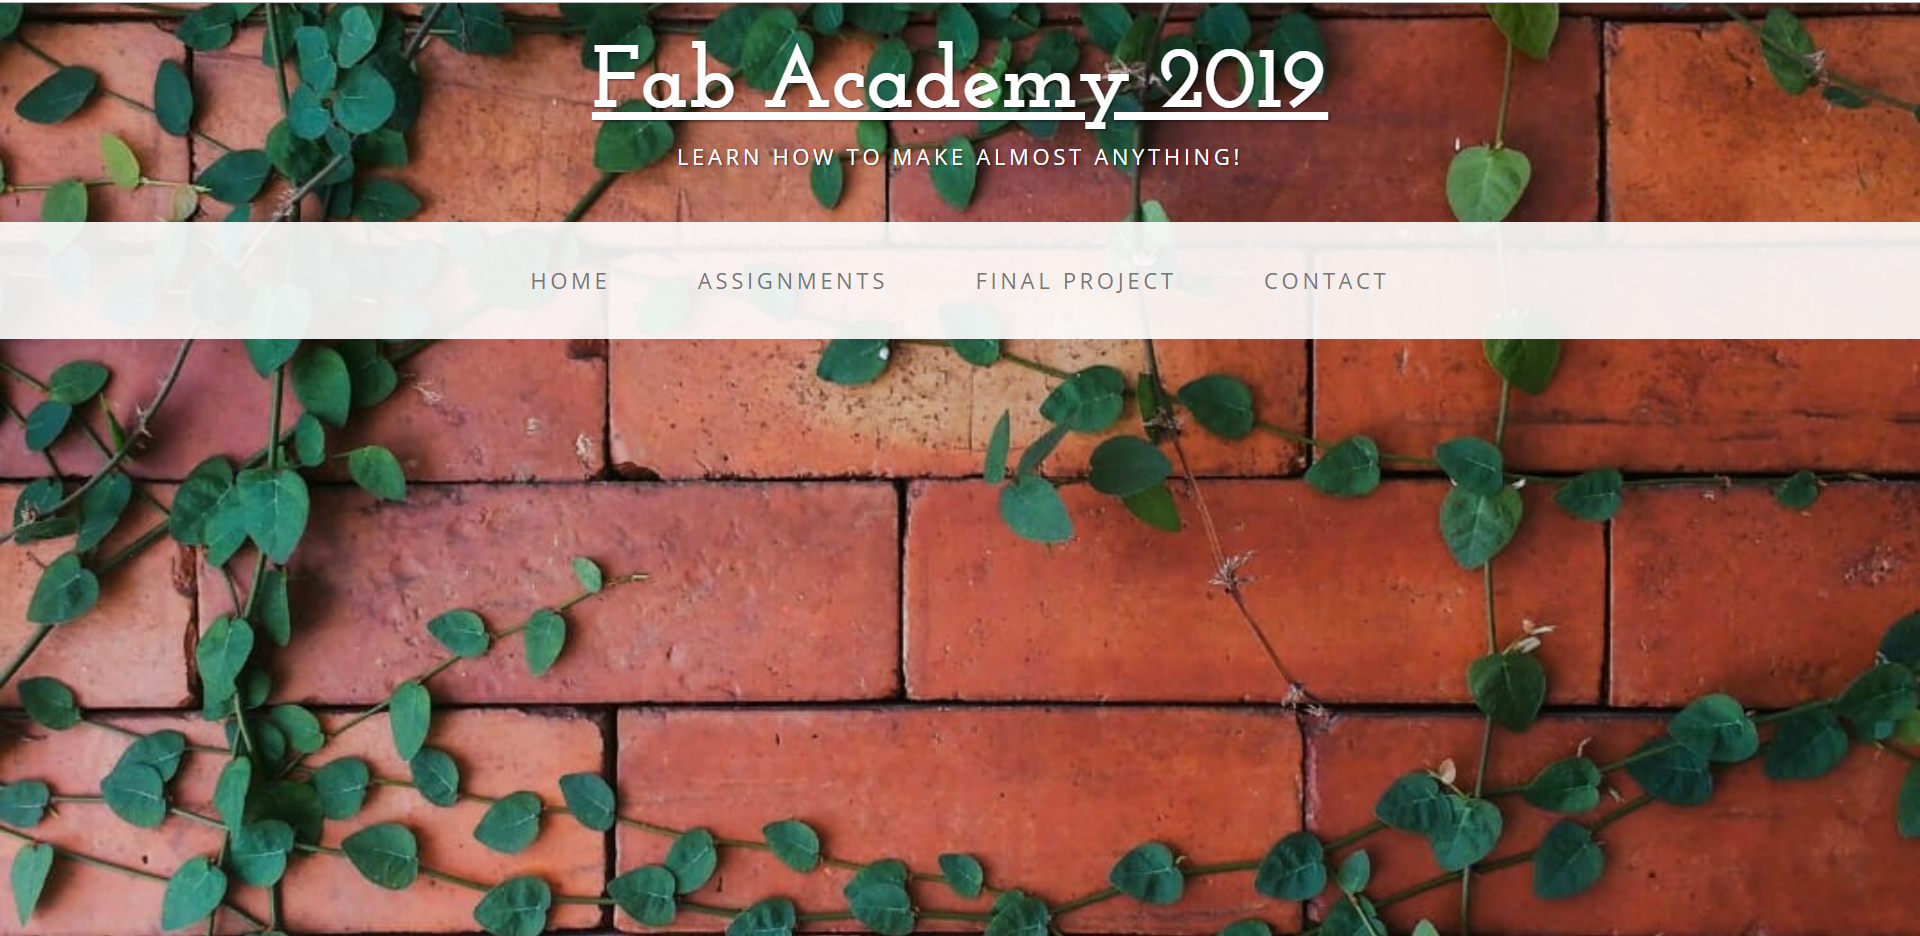
At the beginning I chose The theme force website template but after working on it for a couple of hours, I unfortunately realized it was not exactly what I was looking for. Since I have no experience in HTML language, I decide to look for something else that feeds my needs. After hours and hours of seeking, I found an interesting template from Fab Lab New Cairo done by May El Dardiry and I started again.
Refered links booststrap.
In the following sections I will briefly discuss the different tools I used.

Learning Git
So what is Git??
Git is a free and open source distributed version control system designed to handle everything from small to very large projects with speed and efficiency. Git is easy to learn and has a tiny footprint with lightning fast performance. It outclasses SCM tools like Subversion, CVS, Perforce, and ClearCase with features like cheap local branching, convenient staging areas, and multiple workflows.Git is perfect platform for version control of projects.To me git was a new field.
Basically, Git is needed for tracking changes in computer files and coordinating work on those files among multiple people.
First install git on my Windows 10. It seems a bit confusing at first since I am new to all these programming but once I read about it and follow the tutorials, I started slowly understanding more about it.
One of the biggest advantages of this system is that nothing is ever really lost. Here the program and document will evolve constantly throughout the Fab Academy course.
ThereoforeGIT is a very good tool to keep track of our previous work. This will also allow our instructors to have access and control on our work. Through GIT, they will be able to assess our work weekly before it is pushed on the Fab Academy Website.
Then once Git was Install, I went and create an account on the gitlab.
After finishing the Website locally, I needed to push it to Fab Academy server. I already use SmartGit for the version control.
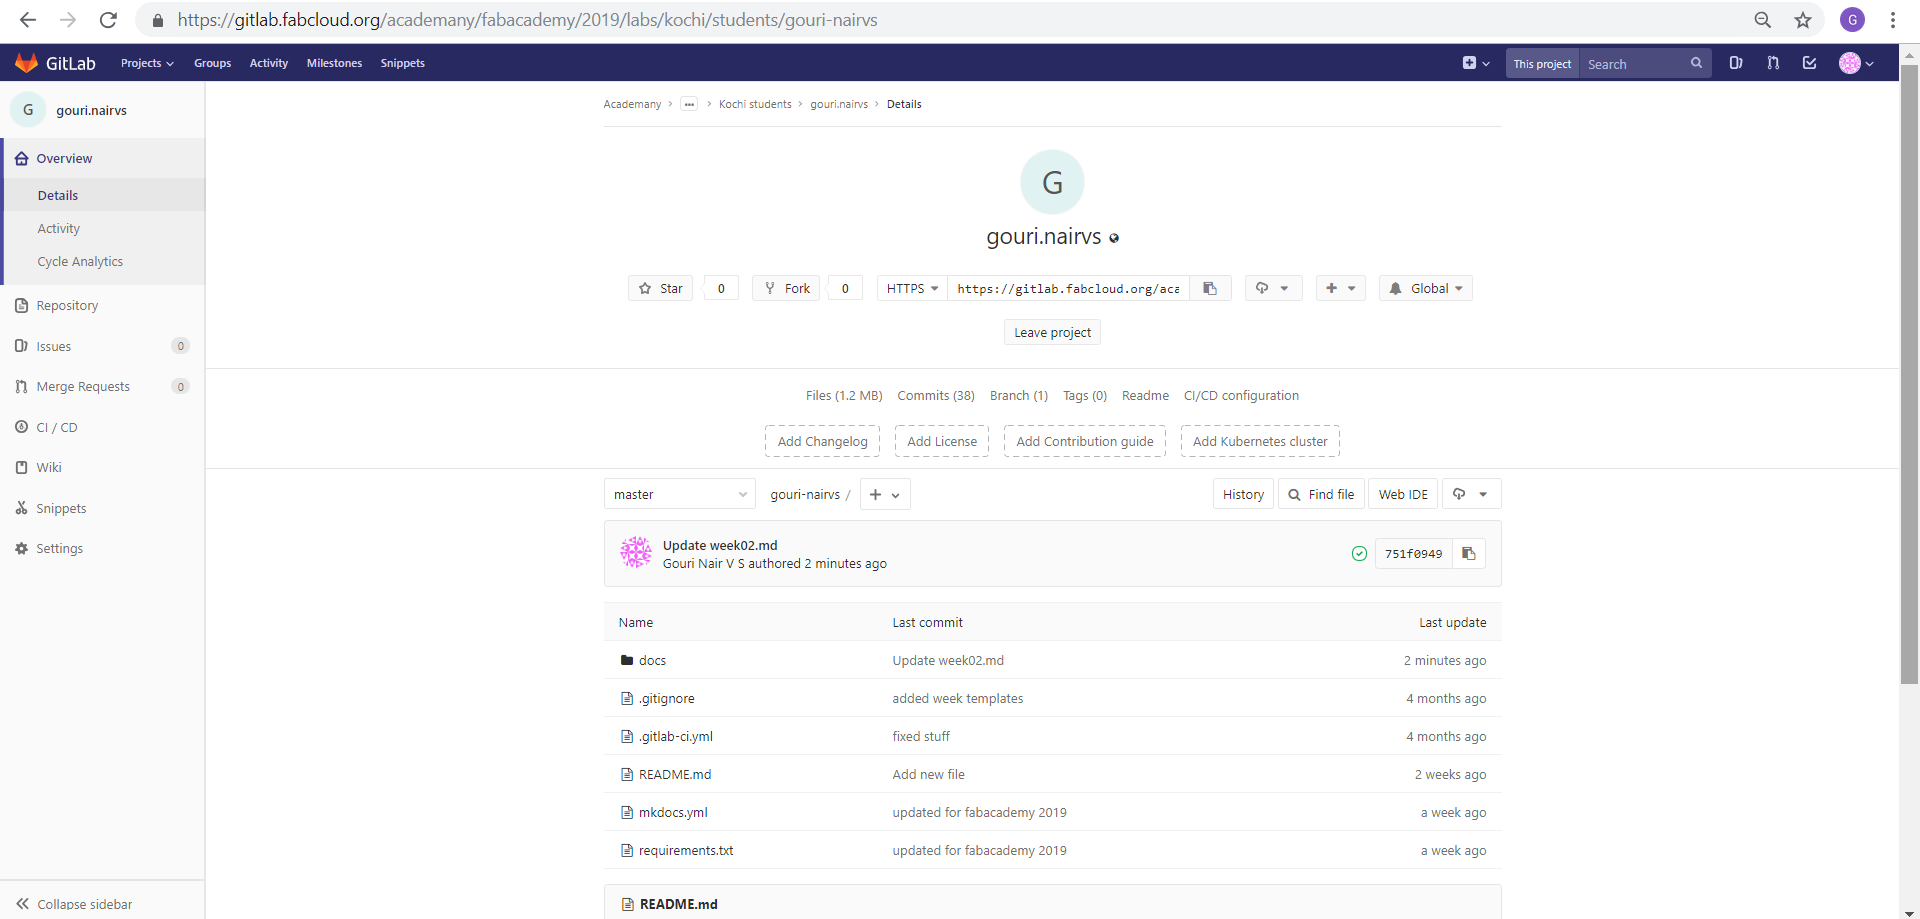
First of all, you go to your account on Fab Academy GitLab, to find your project (For me, fabacademy2019/fablabkochi) and get the URL of the repository as shown in the pictures.
So we are using Gitlab for our project management. So in first we are going to create a gitlab account and study about git Access protocol and codes
As you can see in the below image, there are two access protocols which you can establish a connection with gitlab.The SSH protocol and HTTP(s) protocol.
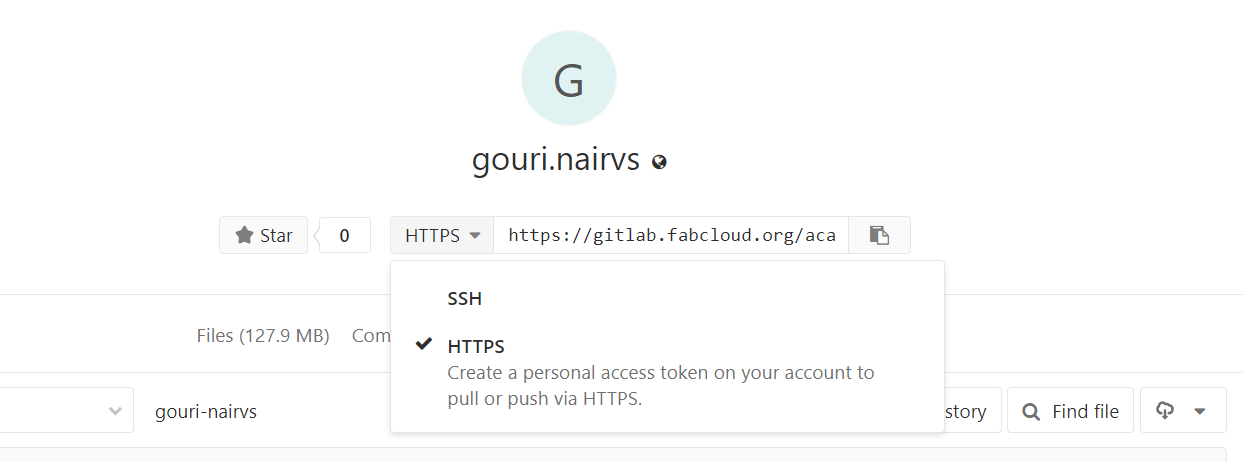
Using the SSH protocol, you can connect and authenticate to remote servers and services.
With SSH keys, you can connect to GitHub without supplying your username or password at each visit.
Before you generate an SSH key, you can check to see if you have any existing SSH keys. This is very important because your work may be uploaded to someone other than you.
After you've checked for existing SSH keys, you can generate a new SSH key to use for authentication, then add it to the ssh-agent.
To configure your GitHub account to use your new (or existing) SSH key, you'll also need to add it to your GitHub account
After you've set up your SSH key and added it to your GitHub account, you can test your connection.
Smart HTTP operates very similarly to the SSH or Git protocols but runs over standard HTTPS ports and can use various HTTP authentication mechanisms, meaning it?s often easier on the user than something like SSH, since you can use things like username/password authentication rather than having to set up SSH keys. It has probably become the most popular way to use Git now, since it can be set up to both serve anonymously like the git:// protocol, and can also be pushed over with authentication and encryption like the SSH protocol. Instead of having to set up different URLs for these things, you can now use a single URL for both. If you try to push and the repository requires authentication (which it normally should), the server can prompt for a username and password. The same goes for read access.
Setting up Git
As first step we have to install git. The first thing you should do when you install Git is to set your user name and email address. This is important because every Git commit uses this information
$ git config --global user.name "user.name"
$ git config --global user.email "user@example.com"
Again, you need to do this only once if you pass the --global option, because then Git will always use that information for anything you do on that system. If you want to override this with a different name or email address for specific projects, you can run the command without the --global option when you are in that project.
If you want to check your configuration settings, you can use the git config --list command to list all the settings Git can find at that point:
$ git config --list
user.name=user.name
user.email=user@example.com
So we have successfully created a git repository in our system. Now we have to make a some files to push into that repository
Learning HTML
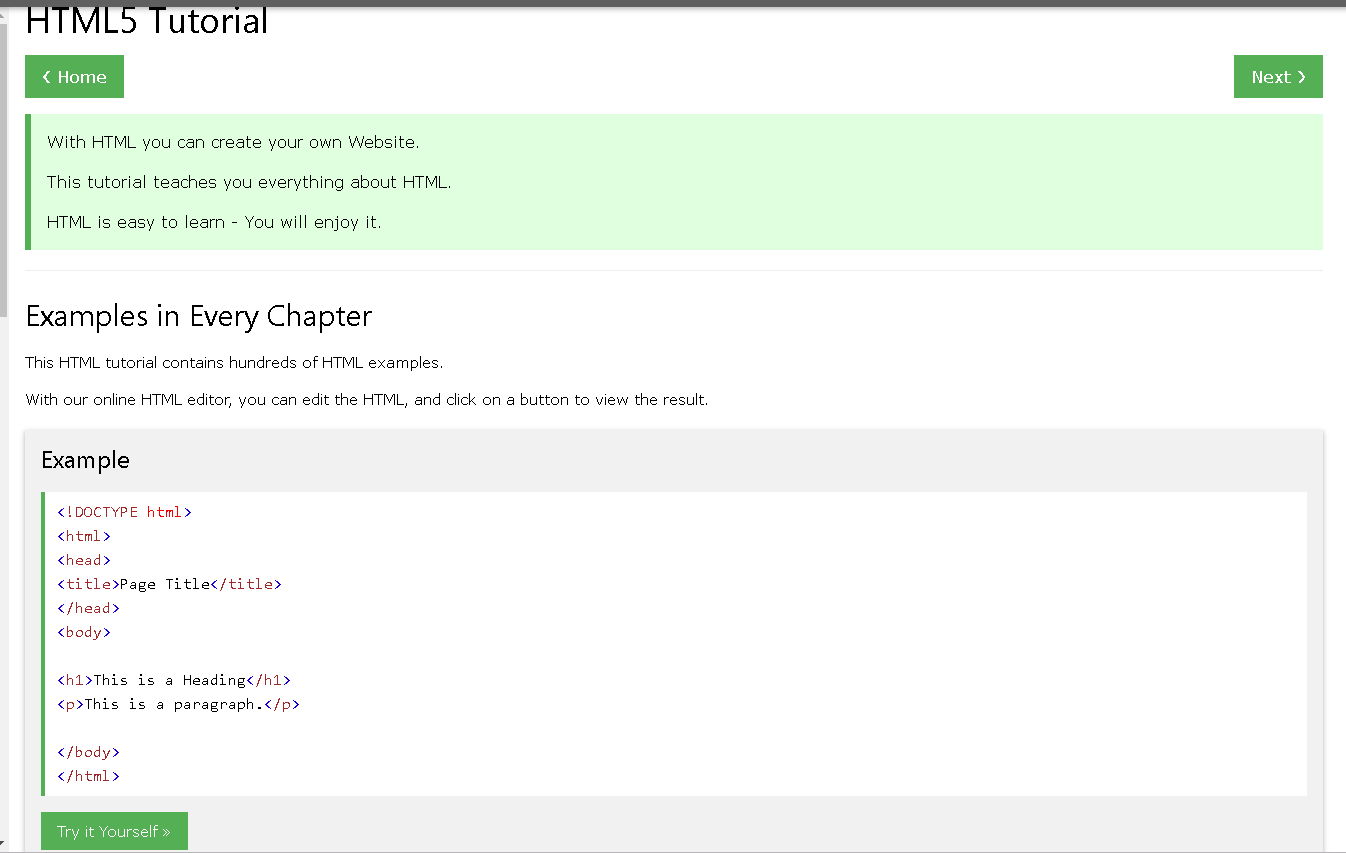
For making an actual website first we have to learn some HTML.HTML stands for Hyper Text Markup Language.HTML is the standard markup language for Web pages.HTML elements are the building blocks of HTML pages.HTML elements are represented by "<>" tags.
So for learning HTML, we find on online web tutorial in www.w3schools.com.
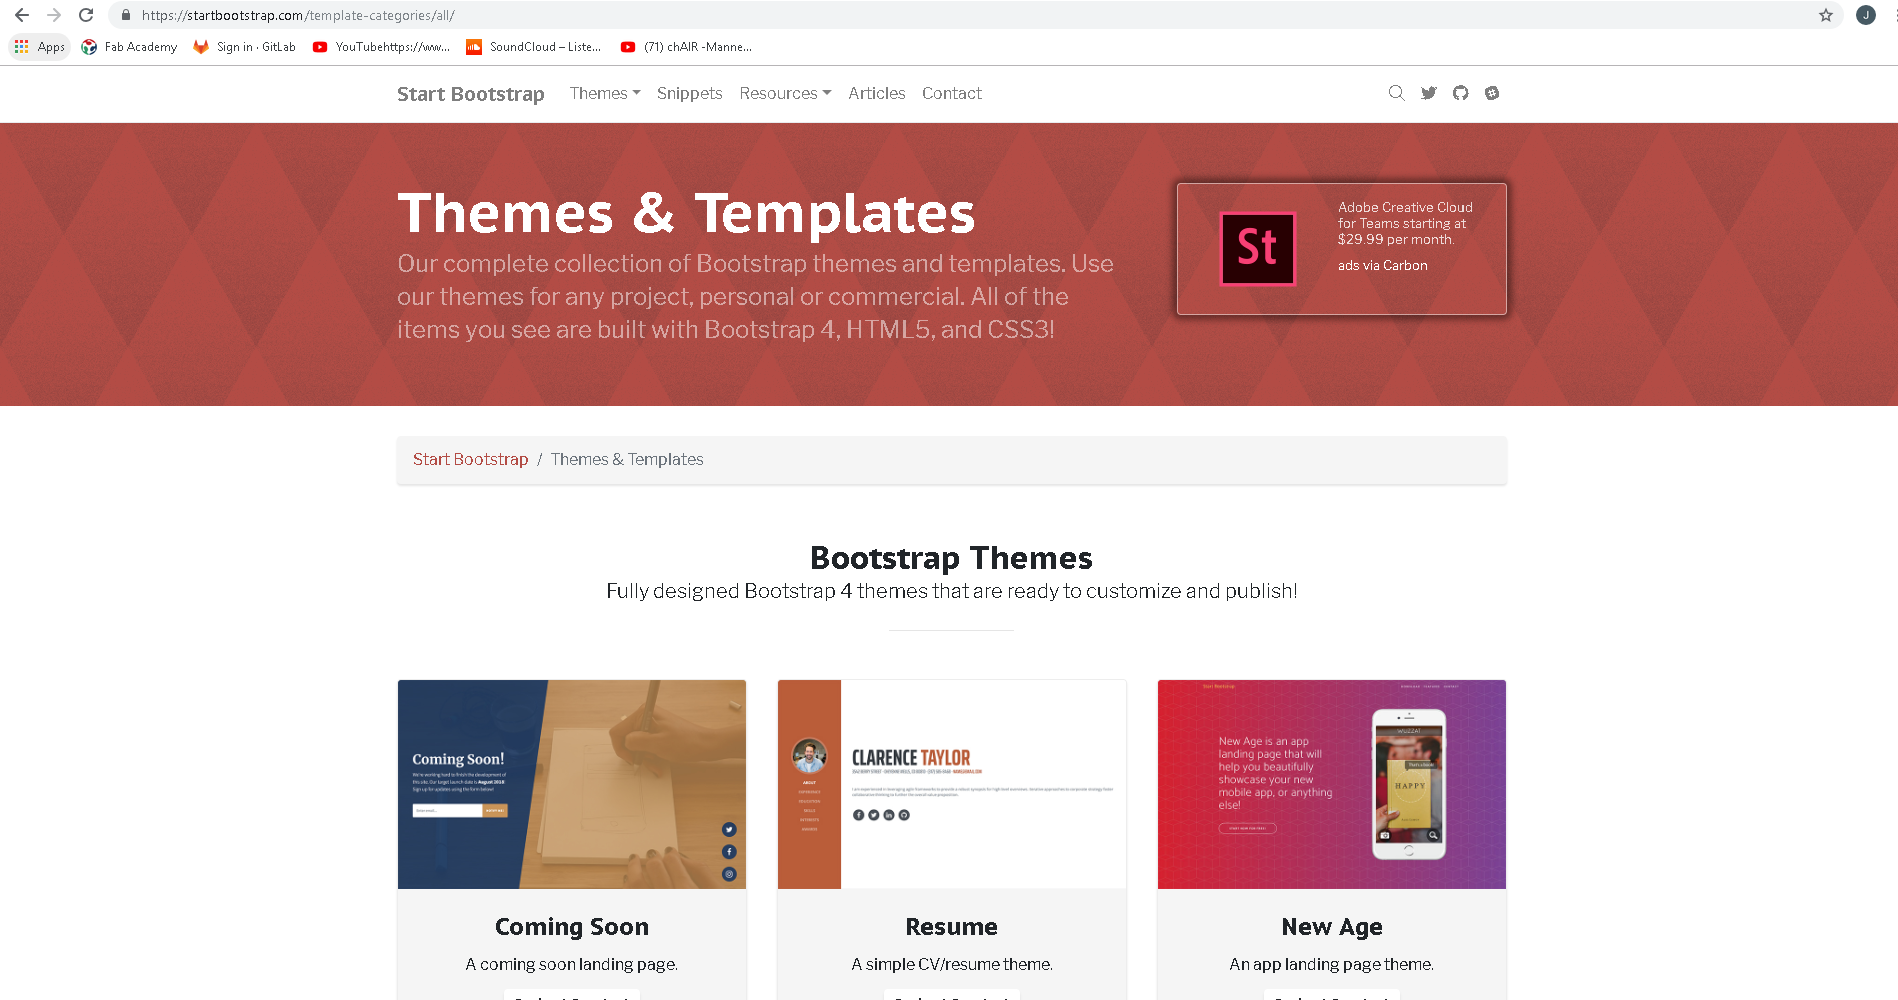
So making a real website was a task.So i found some free website templates from an online site called startbootstrap.com.but still i couldnt find a simple website which i could easily use for my academy.
Later I found an interesting template from Fab Lab New Cairo done by May El Dardiry and I started again.
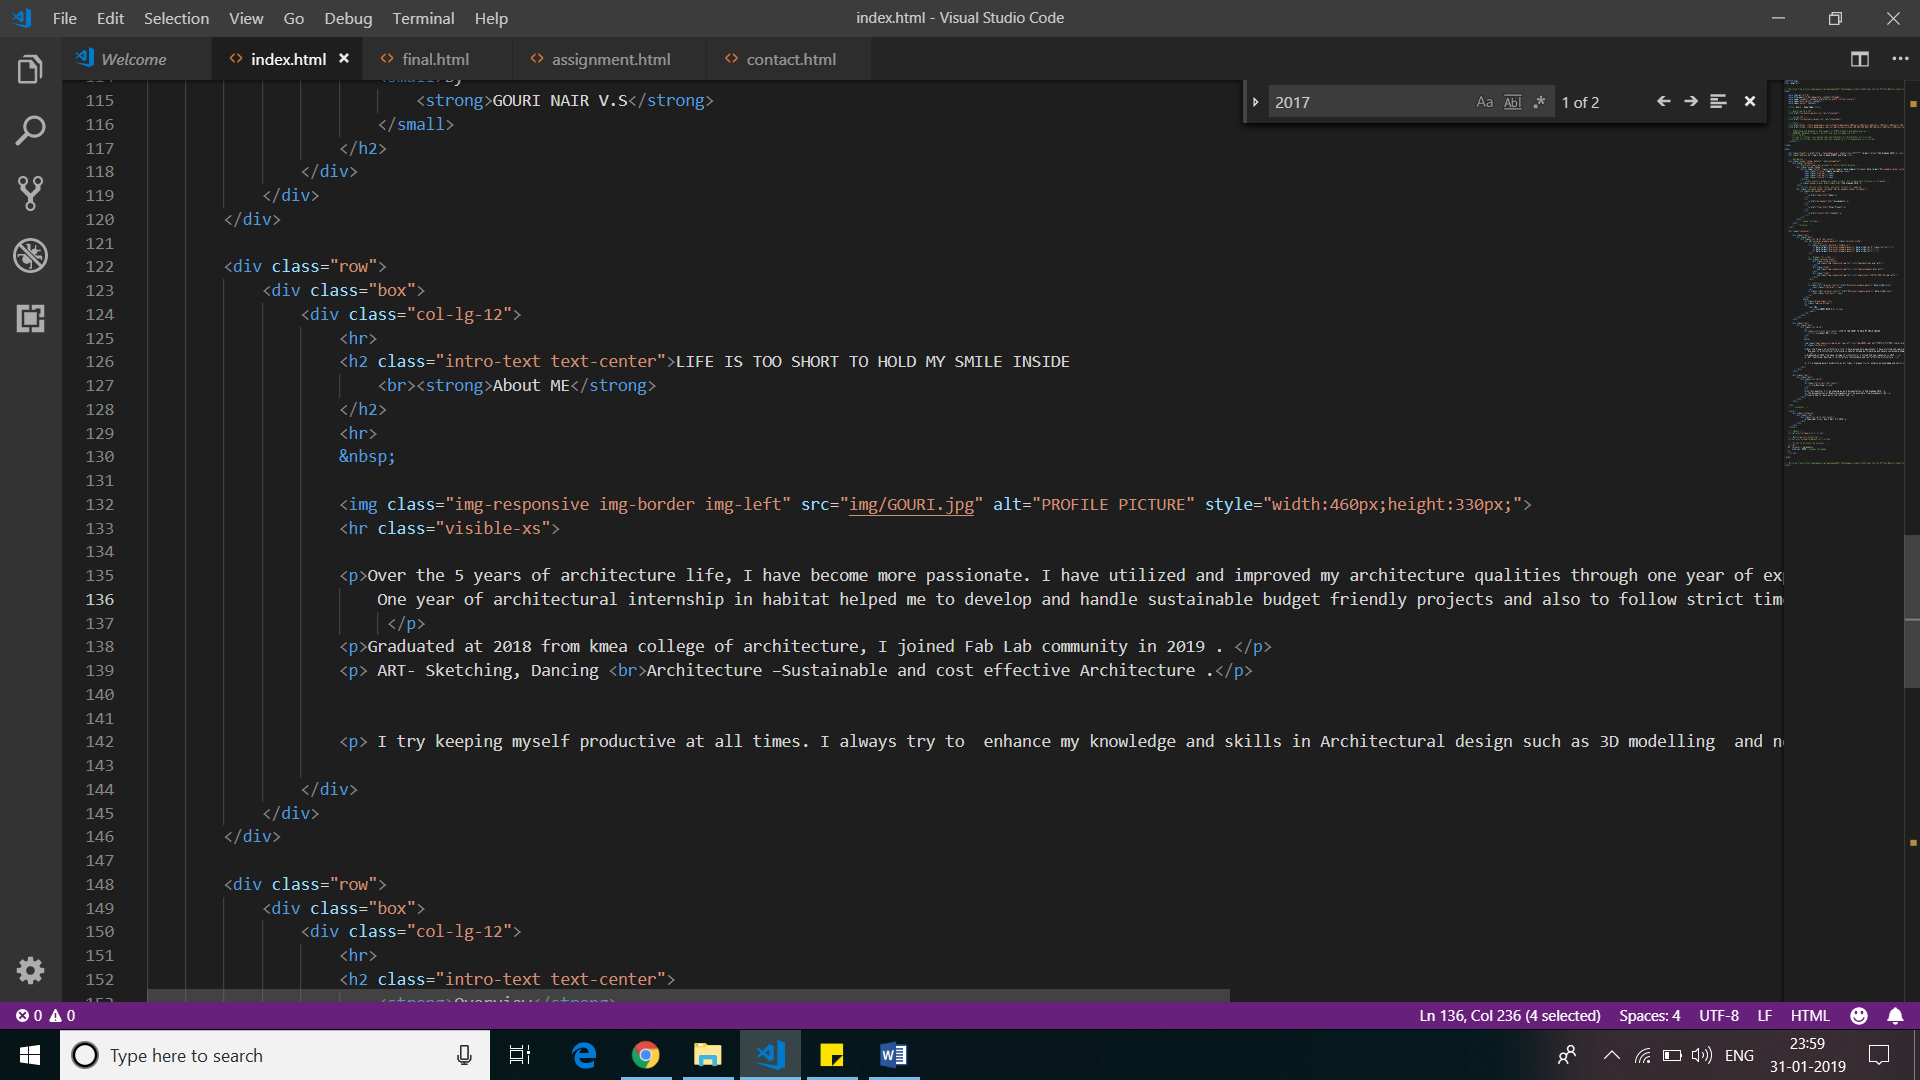
Next step was to edit all thses codes given to match my requirements.I slowly followed w3 school for editing the website.All the basic comments for creating HTML was clearly mentioned in w3 school.
After these steps we need to add files to local repository
Uploading to git
After editing the HTML files, we have to upload the whole file into gitlab. So first we have to copy all files to local repository that we created earlier.
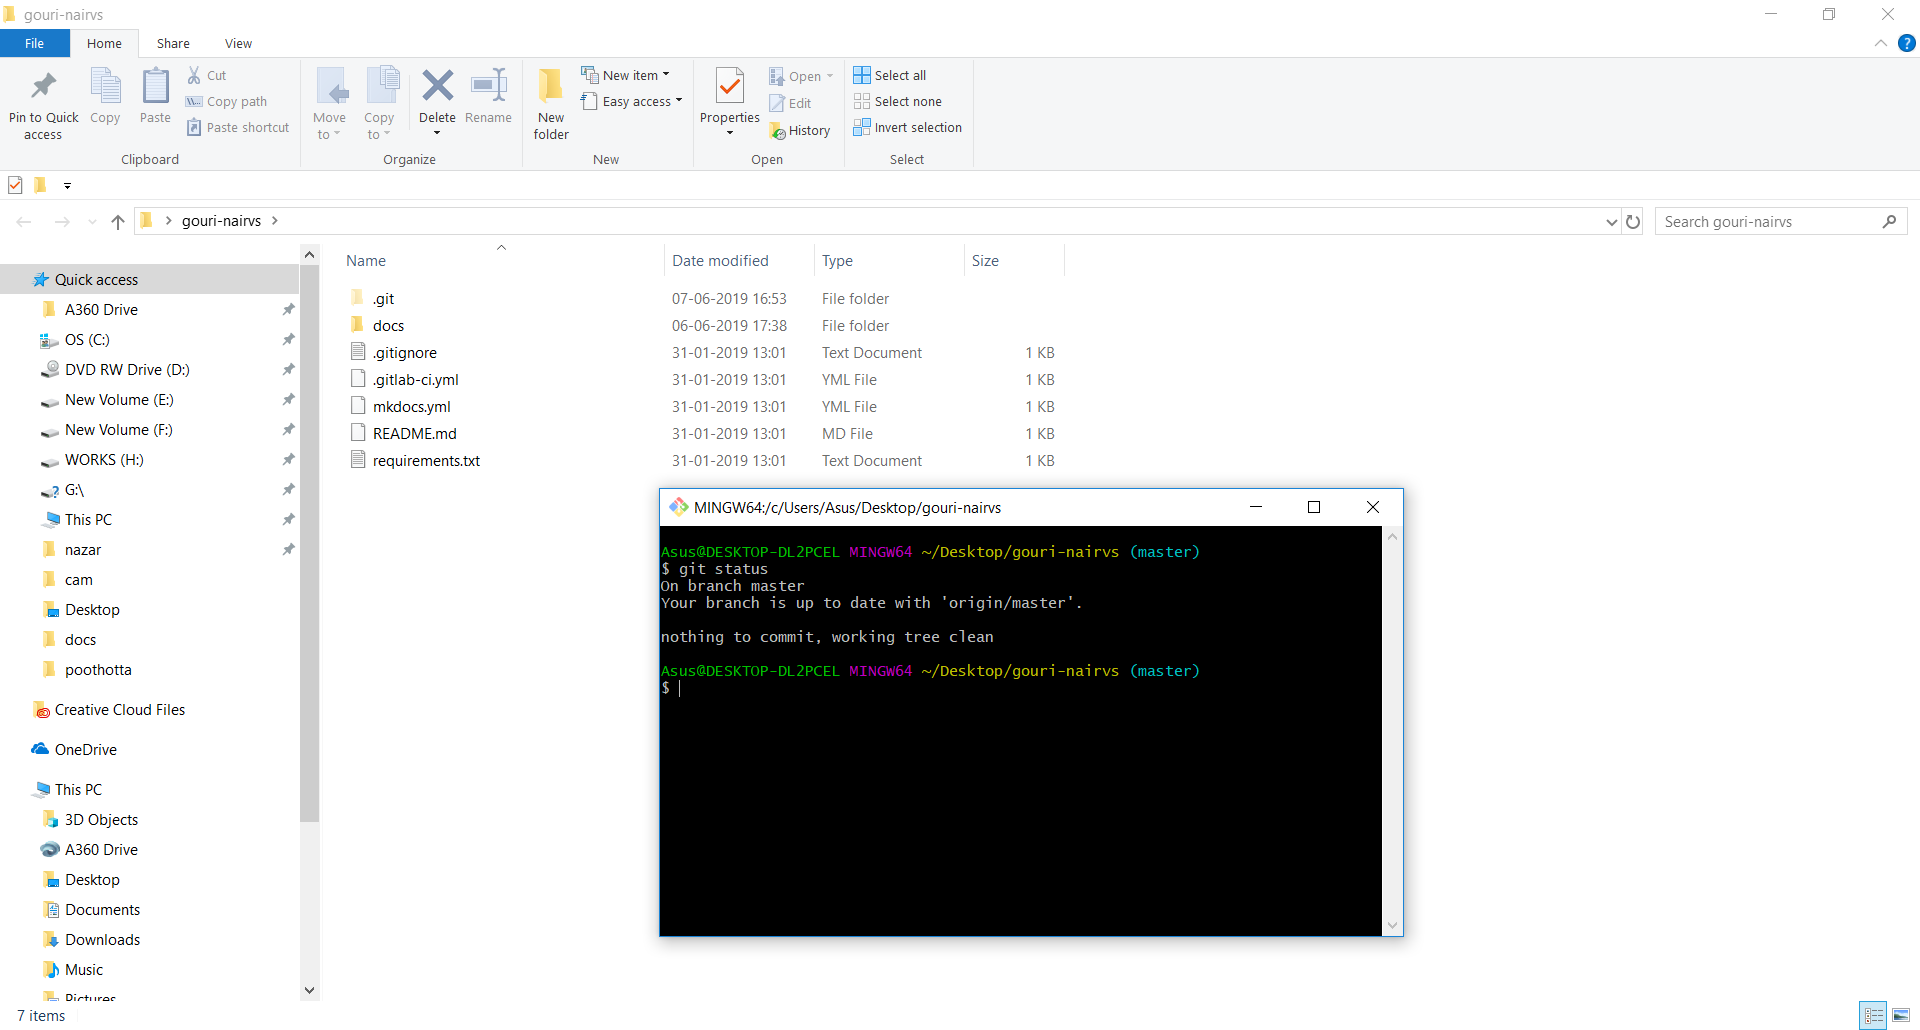
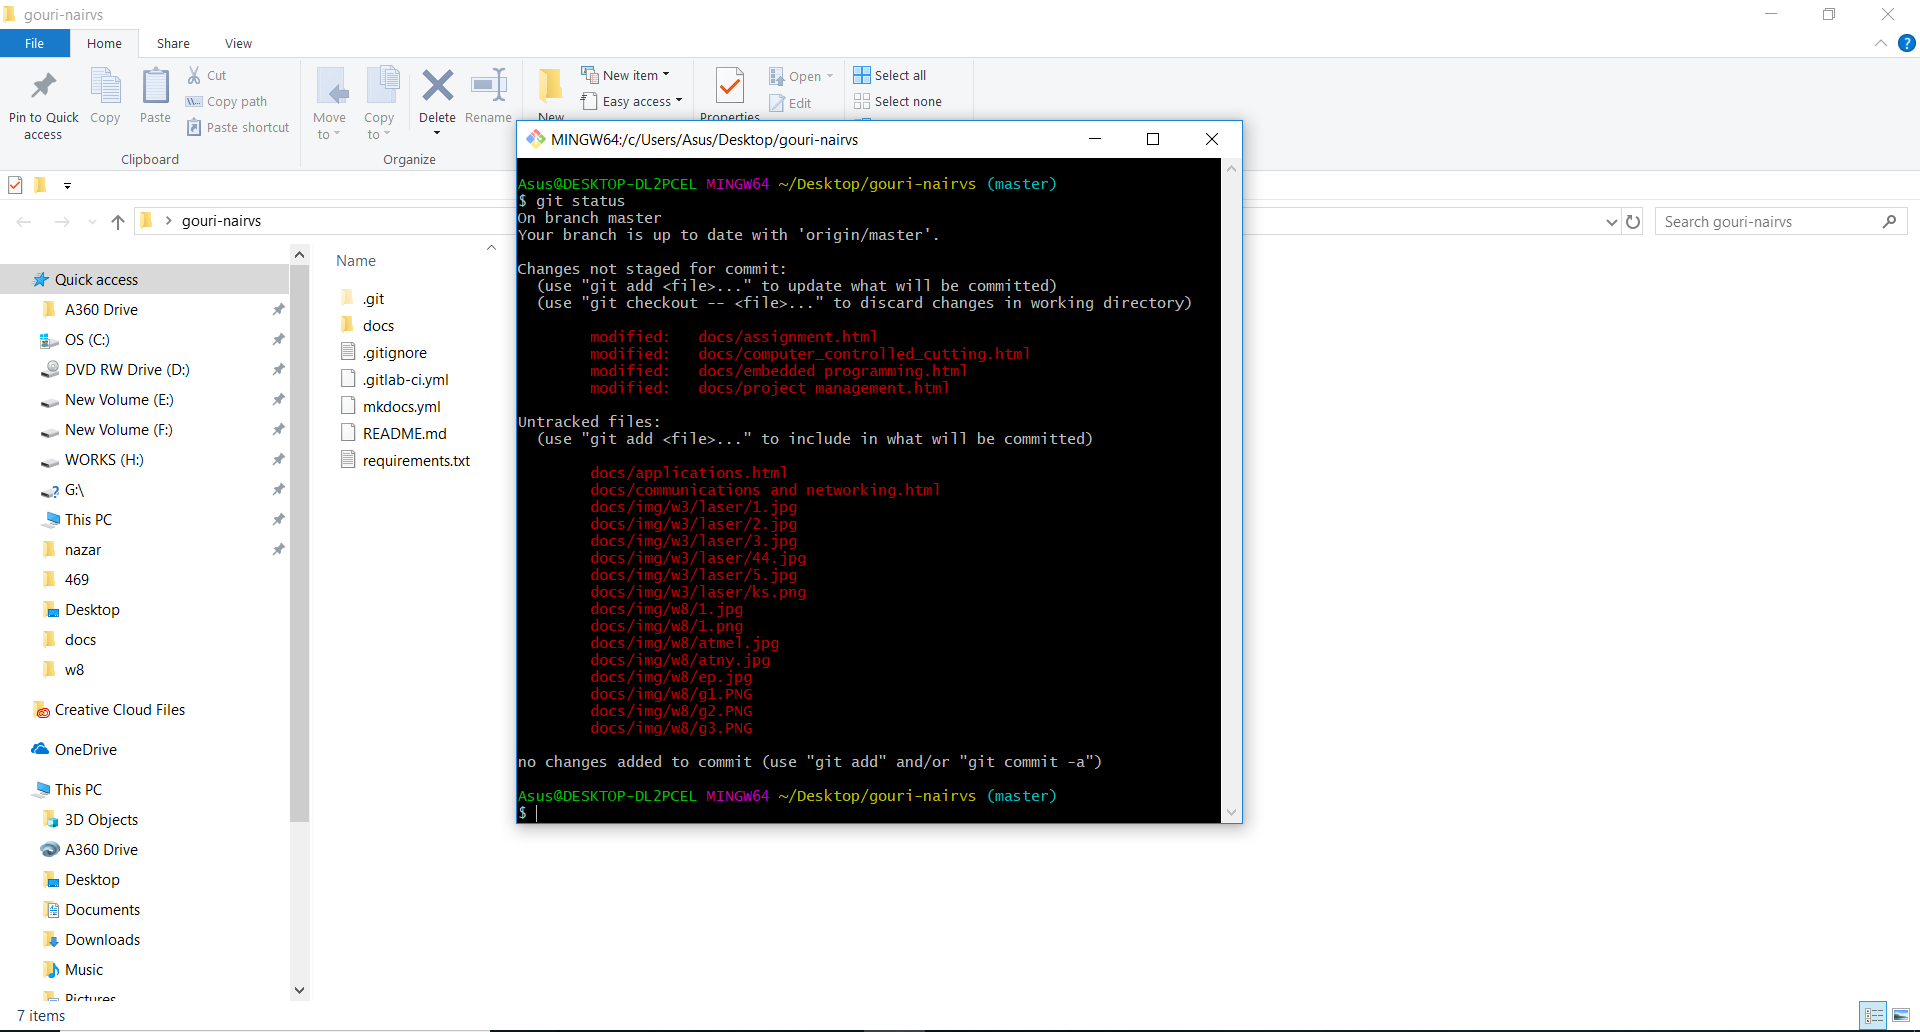
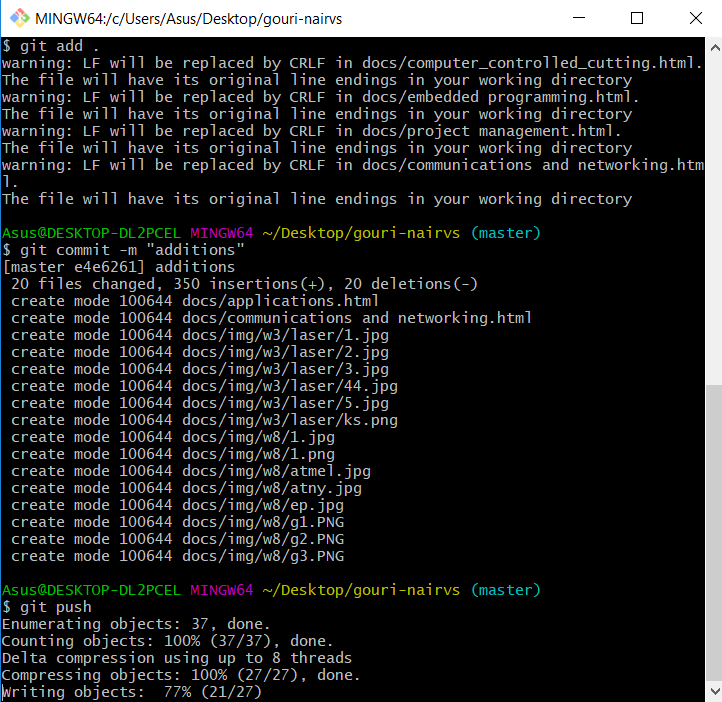
The Final step is to status, commit and then Push.
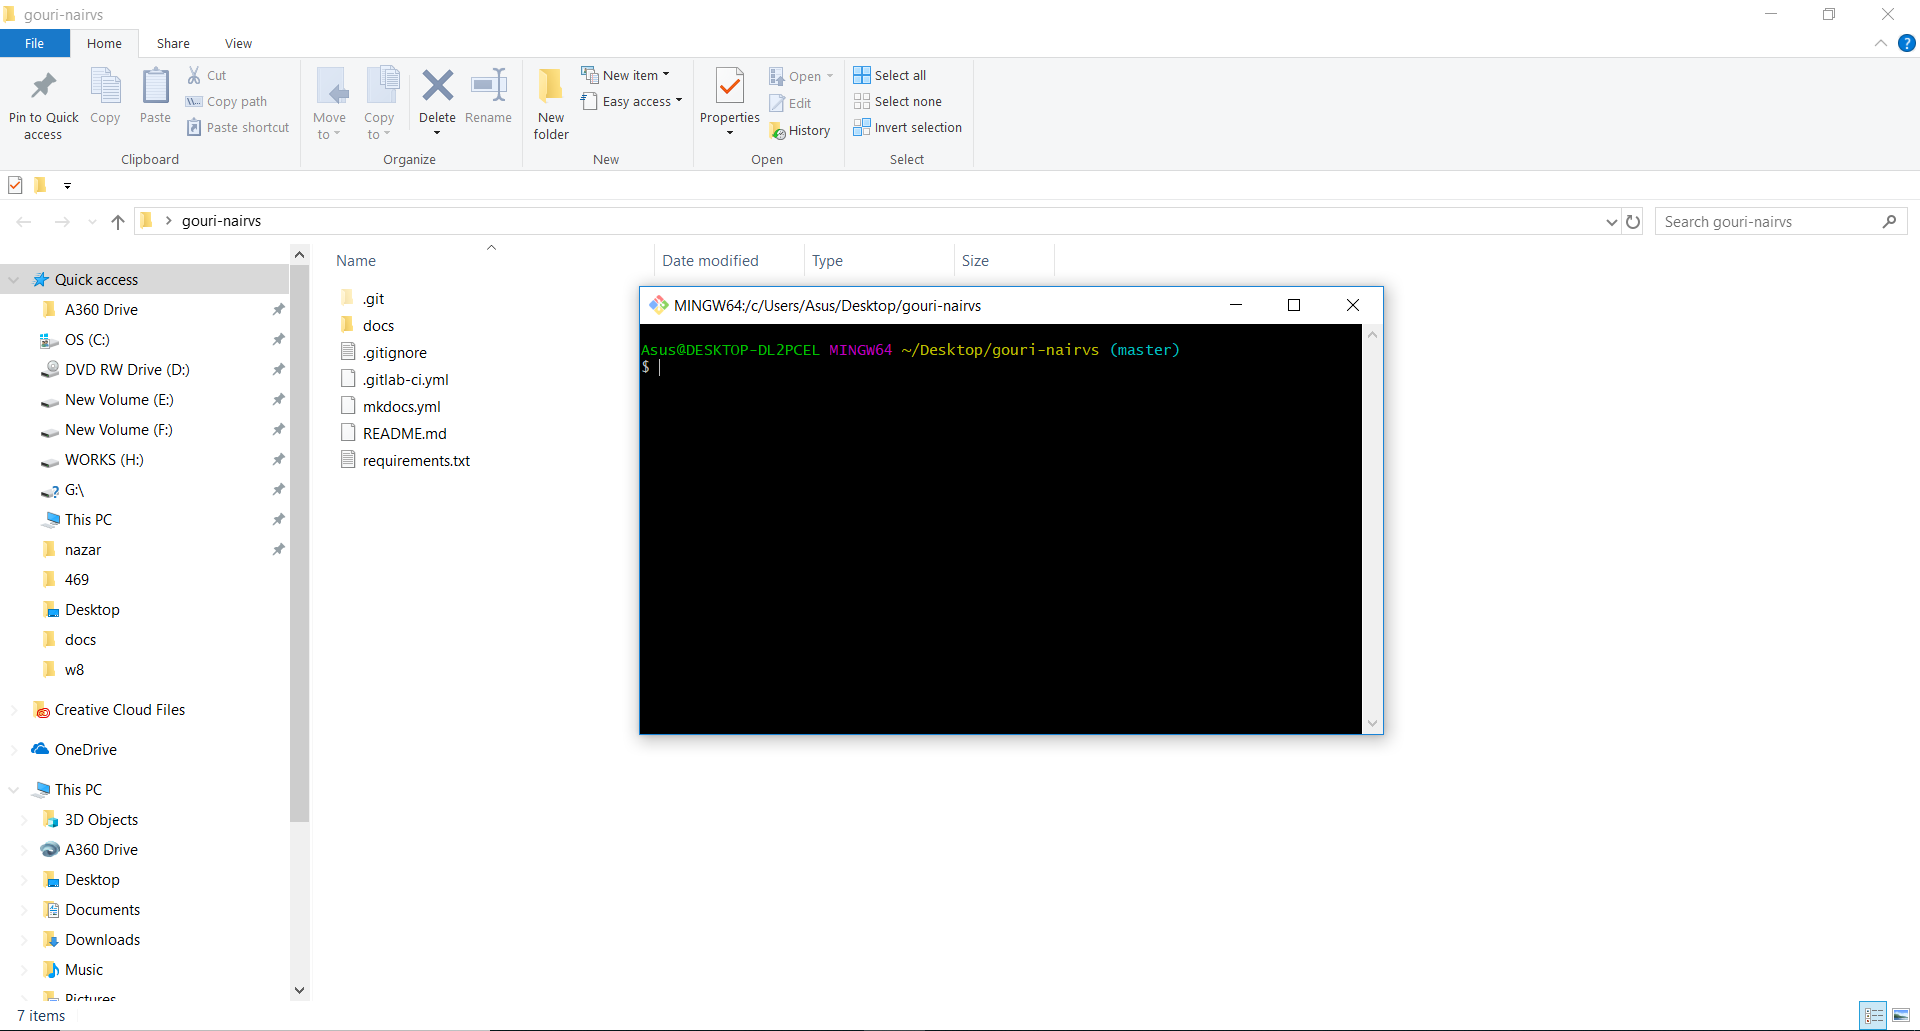
We have to open git bash and type $git status
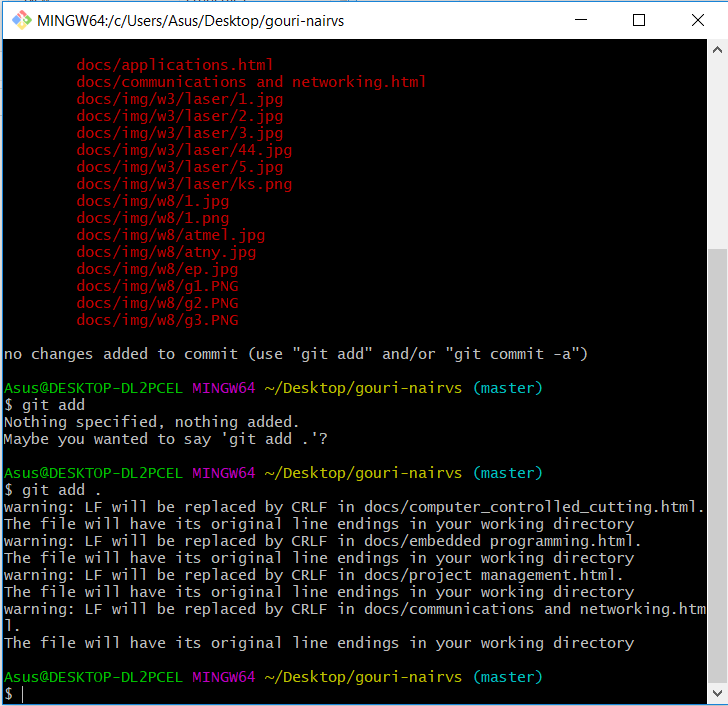
$git add
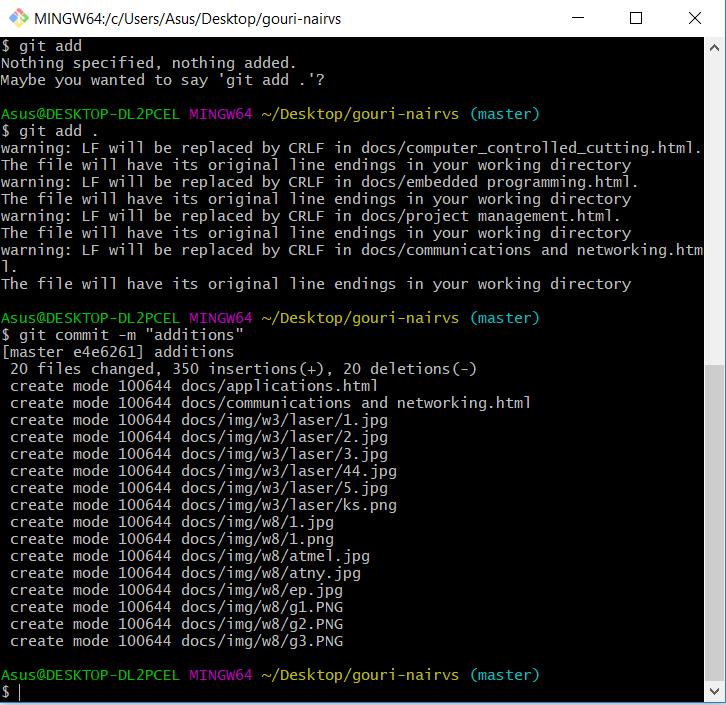
$git commit -m "Commit message"
$git push
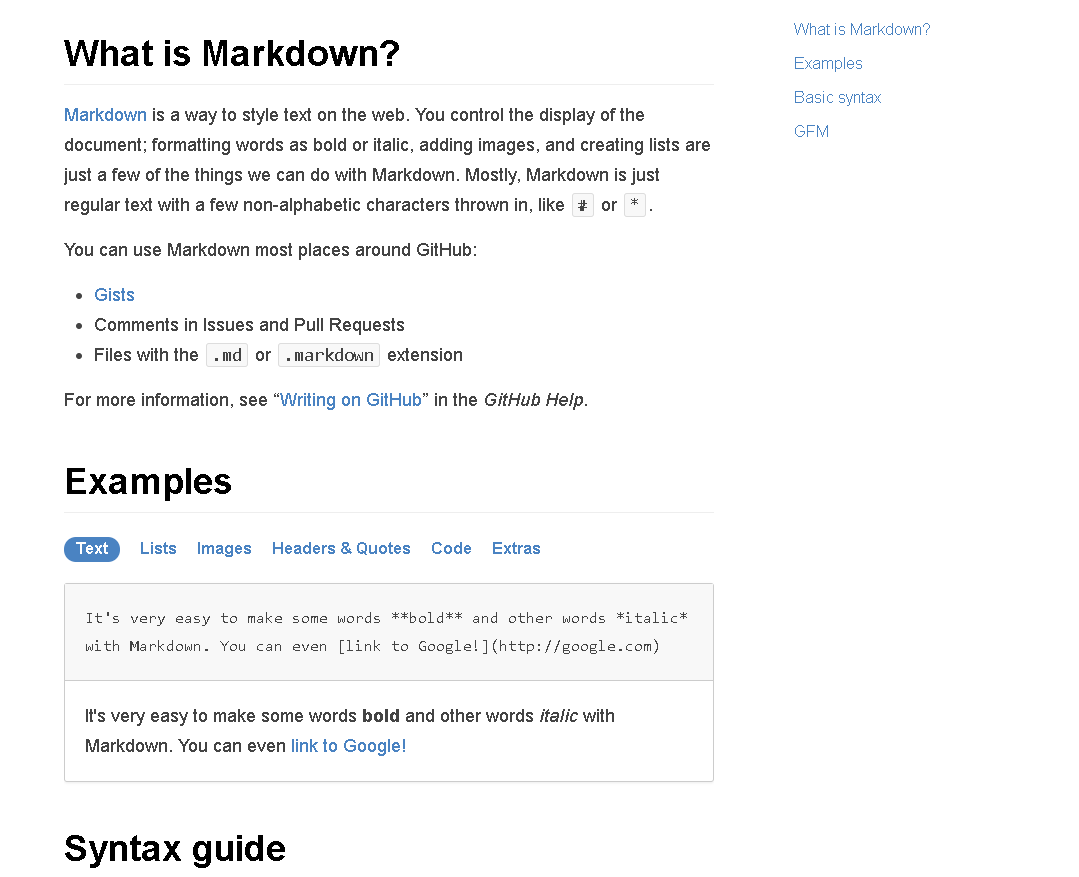
We had another option to use markdown if we are not comfortable with HTML languge.But i didnt try it out since i started with my html school.since i am new to all these language i didnt feel to try everything together.